|
JavaXT
|
|
How to set up a JDBC Connection Pool on GlassfishThere are few simple steps that you need to follow to set up a JDBC connection pool in GlassFish (formally SUN App Server). In this tutorial, we will create a JDBC connection pool for SQLServer.Step 1: Open List of JDBC Connection PoolsIn the Glassfish admin panel, open the list of JDBC Connections Pools using the navigation menu on the left side of the page (Resources->JDBC->Connections Pools). In the JDBC Connections Pools, click New... to create a new JDBC Connection Pool. 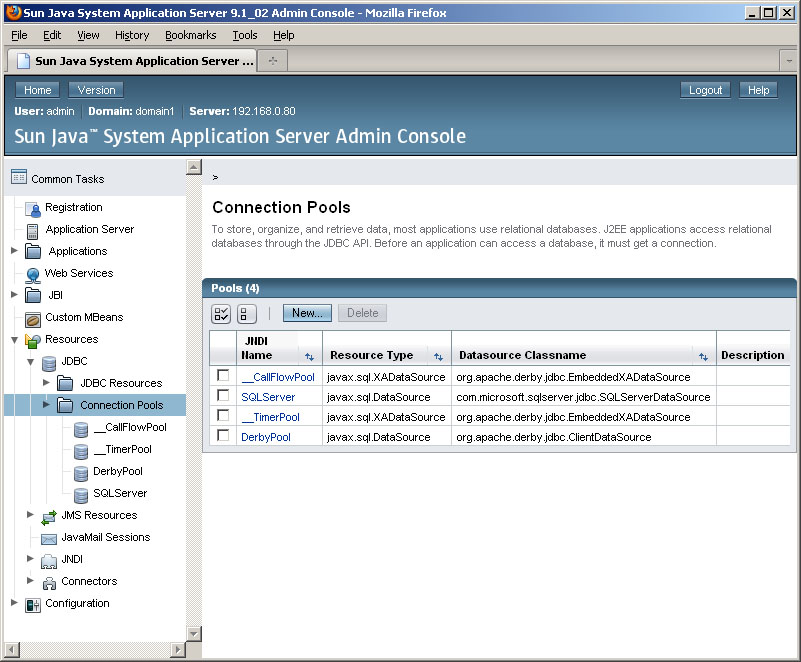
Step 2: Create a New JDBC Connection PoolIn the New JDBC Connection Pool dialog, specify a name for the pool. Be sure to specify the correct "Resource Type" and click Next. 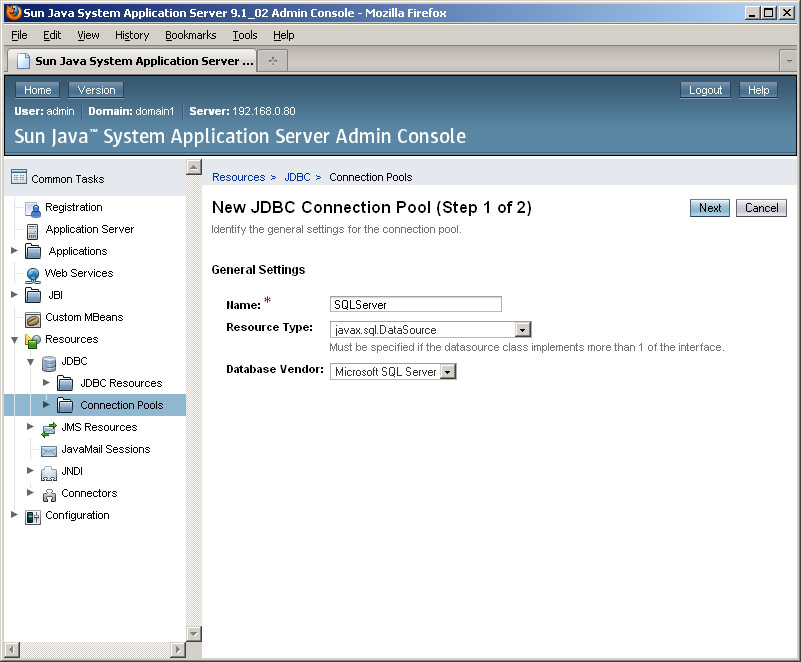
Step 3: Specify Datasource ClassnameOn the next page, specify the Datasource Classname. The class name is of course driver specific. Consult your driver documentation to find the right class. Click Finish to create the JDBC Connection Pool. 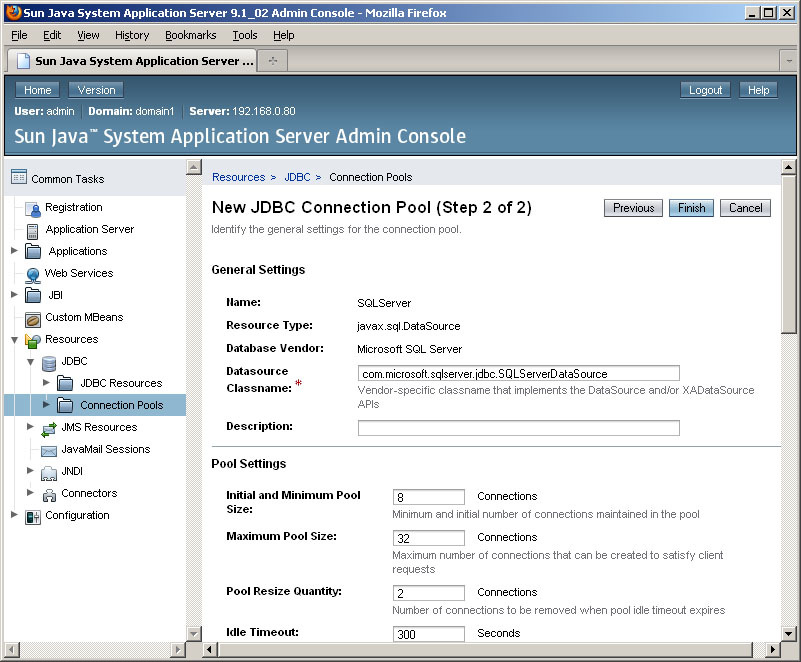
Step 4: Edit the Connection PoolOnce the JDBC Connection Pool has been created, you can go back and add/edit properties such as the JDBC Connection URL, username, password, etc. Example: 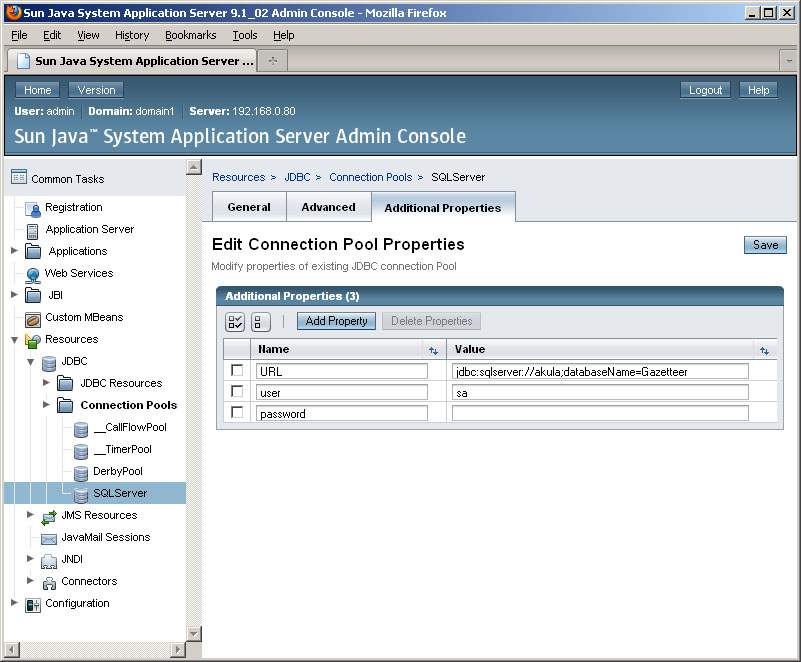
Step 5: Create a JDBC ResourceFinally, you will need to create a new JDBC Resource that you can reference in your web application. 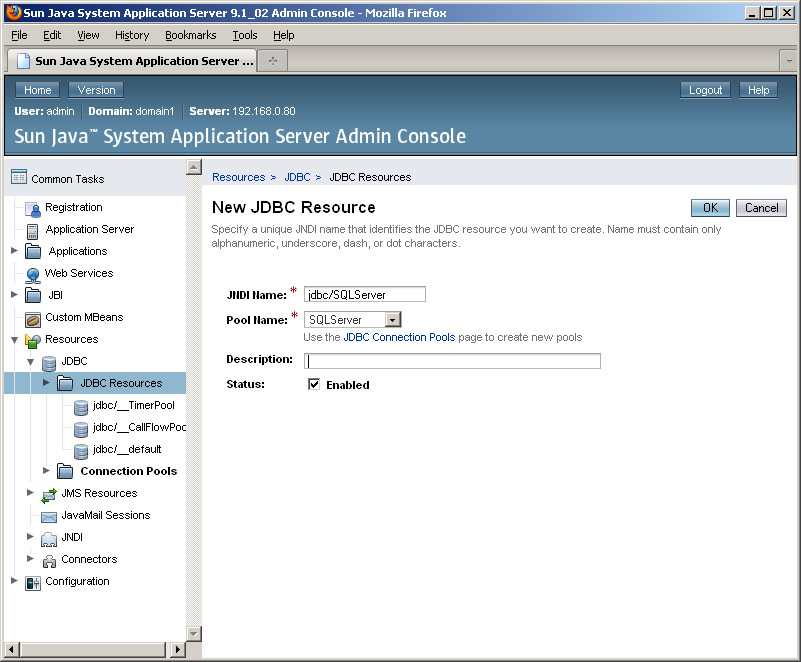
Using the ConnectionOnce you have create a connection pool, you can use it in your web app (e.g. servlet, jsp, etc) like this:
//Find a database connection
  javax.naming.InitialContext ctx = new javax.naming.InitialContext();
  javax.sql.DataSource ds = (javax.sql.DataSource)ctx.lookup("jdbc/SQLServer");
  java.sql.Connection conn = ds.getConnection();


//Do something with the connection.


//Close connection so it can be released back to the pool!
  conn.close();
Referenceshttp://www.tidytutorials.com/2009/06/database-connection-pooling-using.html |
|